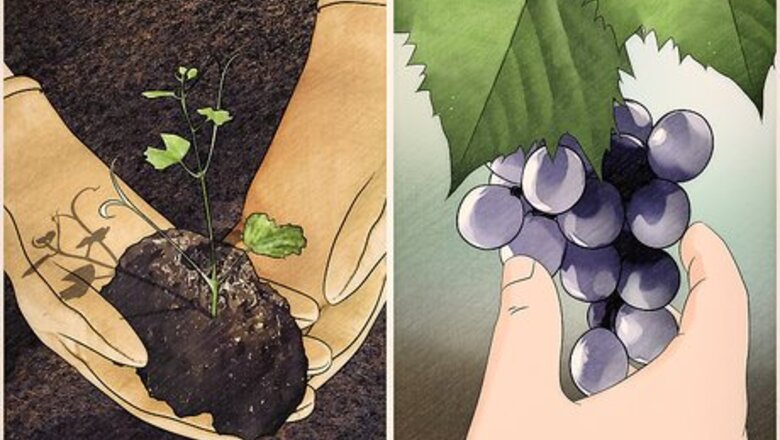
views
Preparing

Learn about the process of growing grapes. The first step is to do your research, and know exactly what you’re getting into. For the first several years of vine growth, you may see minimal or no fruit production, and during this time, the vines are vulnerable to a number pests, fungi and diseases. Growing healthy grapes is a huge time investment. Visit or contact a local vineyard, and ask to spend time working the vineyard with them. This on the job training is one of the best ways to learn the ins and outs of successful grape growing specific to the area you want to grow in.
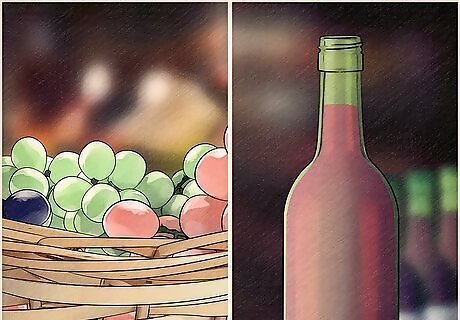
Decide what your vineyard will be for. Motivation for growing grapes varies. Many people grow grapes for personal fruit consumption. Others choose to start a small vineyard to produce a few bottles of wine for themselves. You may want to produce grapes that will be sold to a local wine producer, or you may want to grow grapes to make your own wine for sale. You need to know what your goals are before you start planning and planting in order to make decisions about what types of grapes to grow, how many vines to plant, and how much money you'll need to finance your vineyard.
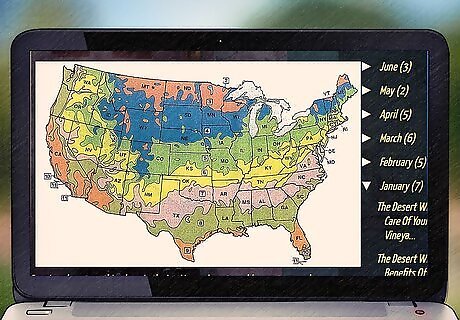
Study your local climate. You should be sure that grapes grow successfully in the area where you plan to start your vineyard. Get started by learning as much as you can about average temperatures, number of growing days in the season, frost and freeze days, and precipitation (rainfall). To get this information, contact your local agricultural governmental agency or outreach office to find out specifics for the area. They can also help you file necessary paperwork, if you wish to sell your grapes or wine after production. In the U.S., you can work directly with the United States Department of Agriculture or the National Institute of Food and Agriculture extension found here https://nifa.usda.gov/extension. In Canada, you can work with Agriculture and Agri-Food Canada at http://www.agr.gc.ca/eng/home/?id=1395690825741. In the UK, contact the Agriculture & Horticulture Development Board here http://www.ahdb.org.uk/. Universities and colleges that offer programs in agriculture or horticulture are also great resources to find out more about climate.

Select a grape variety. As a rule, all grapes do well in areas with warm summers, mild winters, no late freezes, and few chances for spring frost. They do best when temperatures stay above 60 degrees Fahrenheit (16 Celsius) at night and above 70 degrees Fahrenheit (21 Celsius) during the day. Ideally, they take full sun with very little shade. However, you can find a variety of grape for almost any climate. The Vitis International Variety Catalogue provides a searchable database of international grape varieties here http://www.vivc.de/index.php. These listings also provide information on the number of necessary growing days, ideal temperatures, and planting regions.

Consider grafted vines. Originally recommended to deter destruction caused by phylloxera, an insect that damages vine roots, vines grafted to hardier root stock make it possible for vineyards to produce a greater variety of grapes in less-than-ideal climates. You can ask your nursery, local agricultural exchange, or other vineyard owners nearby for recommendations on whether or not to use grafted vines.
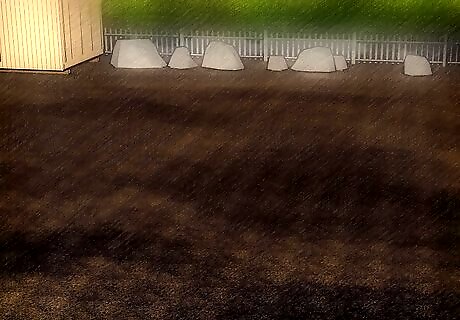
Choose the area where you will be planting. Once you’ve decided what purpose your vineyard will serve and what types of grapes to grow, you’ll need to select the best growing location on your property. If you haven’t purchased property yet, you can incorporate the keys to selection into your property evaluation. Grape plants do well on slopes because they help to properly drain the soil. Excessive moisture can lead to mildew, fungus, and rot that vines are prone to. If you are starting a vineyard on a slope, keep in mind that southern facing slopes extend the growing season while those facing north shorten it because there is less sun exposure, Sep on which hemisphere you live in. Where you place the grapes will impact the flavor of the wine. Soil content, weather conditions, and temperature change the flavor of grapes. This will make the flavor of wine from such grapes vary as well.
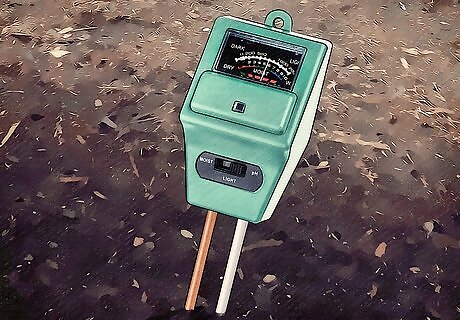
Test the soil. You need to make sure the soil has a pH between 5.5 and 6.5 and no higher than 7. Vines, unlike other plants, actually struggle to produce fruits in soils that are too rich in nutrients. Water should not be left to sit in the soil around vine roots, so drainage is essential. It’s best to consult a professional to test your soil, but there are also a number of test kits available through nurseries. The Alcohol and tobacco Tax and Trade Bureau provides a listing of American Viticulture Areas that help vintners select sites for their wine growth based on flavors and reputation associated with specific growing regions. You can access this list here https://www.ttb.gov/wine/us_by_ava.shtml.
Planting the Vineyard
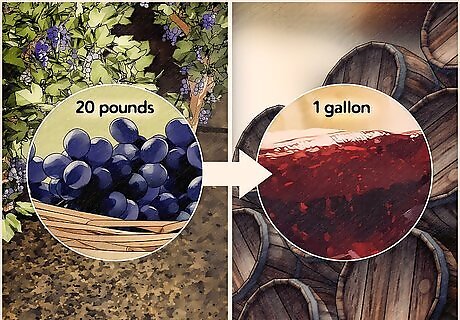
Determine the right number of vines. You’ll need about twenty pounds of fruit to produce one gallon of wine. Each variety of grapes produces a different amount, but typically, vines average about five pounds of grapes each season. Depending on the reason for your vine growth, you can use these average numbers to decide how many vines you’ll need. Always plant a few additional vines to ensure you produce the desired amount. An extra vine for every ten gallons of wine is typically adequate. Use the equation 5X/20 = desired gallons of wine. “X” represents the number of vines you will need to plant to achieve a specific number of gallons of wine. For example, 5X/20 = 100 gallons, so you’ll need 400 vines to produce 100 gallons of wine.

Lay out your vineyard. You’ll need to allow for at least 6 feet between vineyard rows and at least 3 feet between plants. Because vines are prone to mildew and fungal growth, it’s essential to allow for adequate space between plants so the leaves don’t shade the neighboring vines. In most areas, running the vineyard on a downhill, southern facing slope, is ideal. However, in climates that regularly achieve temperatures above 90 degrees Fahrenheit (30 Celsius) you may want to choose a northern facing slope to protect grapes from extreme heat. Check with local land ordinance offices to make sure there are no regulations on land clearing before you get started. Many cities now require a specific number of trees per lot and other regulations. There are usually compromises like replacing trees that are cleared, but it’s best to know and plan for these situations in advance.

Order your grape vines. Nurseries order or grow vines for the next planting season, so you’ll need to place an order one year in advance. It’s essential to specify only one year old vines will be accepted. Some nurseries attempt to sell two year old vines that were not ready for sale in their first year, which may indicate the vine is unhealthy or will not produce adequately. Make sure the nursery you buy from provides certification for its plants and guarantees them against viruses and diseases for at least three years. Inspect each vine before accepting the delivery. Look for signs of root or vine damage like breaks or circled roots. Count the vines to ensure you’ve received the correct number.

Dig the holes. Once your vineyard is laid out, you’ll need to dig a hole for each vine. Using a posthole digger of six to eight inches in diameter, you’ll dig holes four to six inches deep. If the sides of the hole are “glazed,” compacted while digging leaving them with a smooth appearance, rough the sides of the hole with a spade or other tool to allow the roots to expand naturally.

Set up a trellis and training systems. Prior to planting, you should have your entire support system in place. Training systems are necessary to direct the growth of your starter vines, and the trellis system supports the weight of fully-grown vines. These systems are essential because the vine cannot support the full weight of the fruit it produces. Trellises can be a simple series of wires, decorative fencing, or more decorative options, depending on your needs. Fencing companies typically offer trellising services at minimal costs, and they have the experience to design and place a system that will support your vines. Consult with a landscaper or nursery specialist if you would like to build your own trellis system. In nature, grape vines grow on the sides of houses, along fence lines, and over other structures, so decorative trellises can be crafted from just about anything. Make sure your trellis system does not block sunlight from the vines.

Plant your vines. Be prepared to place your grape vines in the spring time. Most vines do best when planted after the last freeze and when there is decreased chance for frost. Place each vine in the previously dug holes. Tie the vine to the training post to direct the growth toward the trellis.

Ward off pests. From the tiniest phylloxera insects that commonly infest grapevines to larger pests like rabbits, deer, gophers, and birds, vineyards are constantly under attack. There are a variety of natural and structural pest solutions as well as chemical pesticides available to help you control pest problems. Consult with local winegrowers and your nursery to select pesticides that will discourage infestations without harming your grapes or wine. It’s important to ask for expert help to avoid damaging your crop. Fence in your vines to discourage deer, raccoons, and other larger scavengers. Use netting to deter birds from eating grapes. Fill in rabbit and gopher holes with broken wine bottle shards to discourage these pests from digging near your vines.
Running a Vineyard

Create a business plan. Before you undergo any large-scale business investment, you should have some idea how much capital you’ll need and when you will produce a profit. With vineyards, this is especially important because most vintners don’t see a profit for at least three years. Every crop is different, but you should plan to spend about $12,000 an acre for your first year of production. This is the start up year, and this cost includes all of your tools, equipment, pesticides, trellising, and the plants themselves. During the second year, this number decreases dramatically, typically costing between $1,200 and $1,500 an acre and even further in the third year and thereafter costing about $1,000 an acre. Have a plan to finance these first years and set aside more money than you need. You are more likely to suffer set backs and concerns in the first few years that will require additional funding.
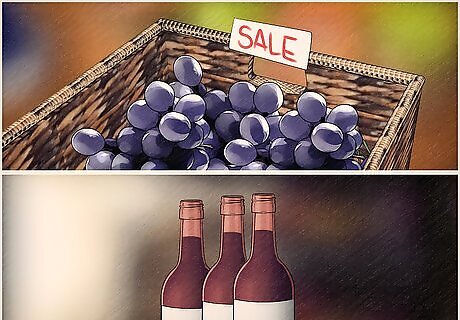
Have a plan to sell your product. Are you going to sell them as fruit, sell them to winemakers, or produce your own wine for sale? Whatever your plan to recoup your investment, make connections and strategize early. You can visit local retailers yourself or sell you wine to businesses that promote and sell these products.

Talk to local vineyard owners. Be frank, and don’t hesitate to ask for help with your business plan. Winemaking may be a competitive industry, but most vintners are happy to share their knowledge and experience with those who are interested in learning more about the industry. It never hurts to reach out and ask for help from the winemaking community in your area. You can start by searching for local wineries and winemaker clubs or associations. Contact these organizations via email or phone and ask, if they’d be willing to talk to you about the process of growing grapes for wine. You can start with something simple like, “I’m considering starting my own vineyard, and I wondered if you’d be willing to share some of your experiences with me.” If you find a vineyard or vintner you admire, ask, “Would you be willing to let me work with you during harvest and wine production?” This hands on experience is often more informative than all your research and interviews combined.

Complete your regulatory forms. If you’re planning to sell wine, you’ll need to go through any licensing, sales regulations, and tax applications required by your local regulatory agency. The Alcohol and Tobacco Tax and Trade Bureau handles these regulations in the US. The Canadian Association of Liquor Jurisdiction and the Business and Enterprise Department of Alcohol Licensing determine regulations in Canada and the UK respectively. Ask other local wine producers about the process in your area. They are your best resource because they’ve been through it all before. Conduct an online search for regulations in your state and country. Read about liquor licensing to find out the specific steps to obtaining the licensing necessary to sell wine.

Market your wine early in the production process. Make contact with local retailers, call wine distributors, and consider setting a tasting room and shop on your property. This should all be part of your business plan, but make sure to start promoting your product long before you plan to sell it. You’ll be surprised how much red tape is required to get your bottle on local retailer’s shelves. In most states, you have to complete an application for approval through your regulatory board for each sales location. Invite local retailers to visit your vineyard for a tour before the wine is ready for sale. Take them through your process. This build interest in your product. Then, invite them back for a tasting once the wine is available. If you have a parcel of land within a specific American Viticulture Area, you can use this as a sales tool and resource, since each AVA has its own unique flavor attributes. This information is available through local Alcohol and Tobacco Tax and Trade representatives. Offer local retailers one or more cases of wine from your first crop at a reduced cost to encourage purchase and sales. Provide free tasting in retailer locations to encourage them to keep your wine on the shelf, once they’ve sold out of the original stock.


Comments
0 comment